You do not need a $1,500 photography setup to sell products in 2026. You need a window, a $20 backdrop, a phone made in the last three years, and 30 minutes per product. Here is the system that consistently gets phone photos to outperform mediocre studio work, and the four shots every listing must have.
The shoot environment
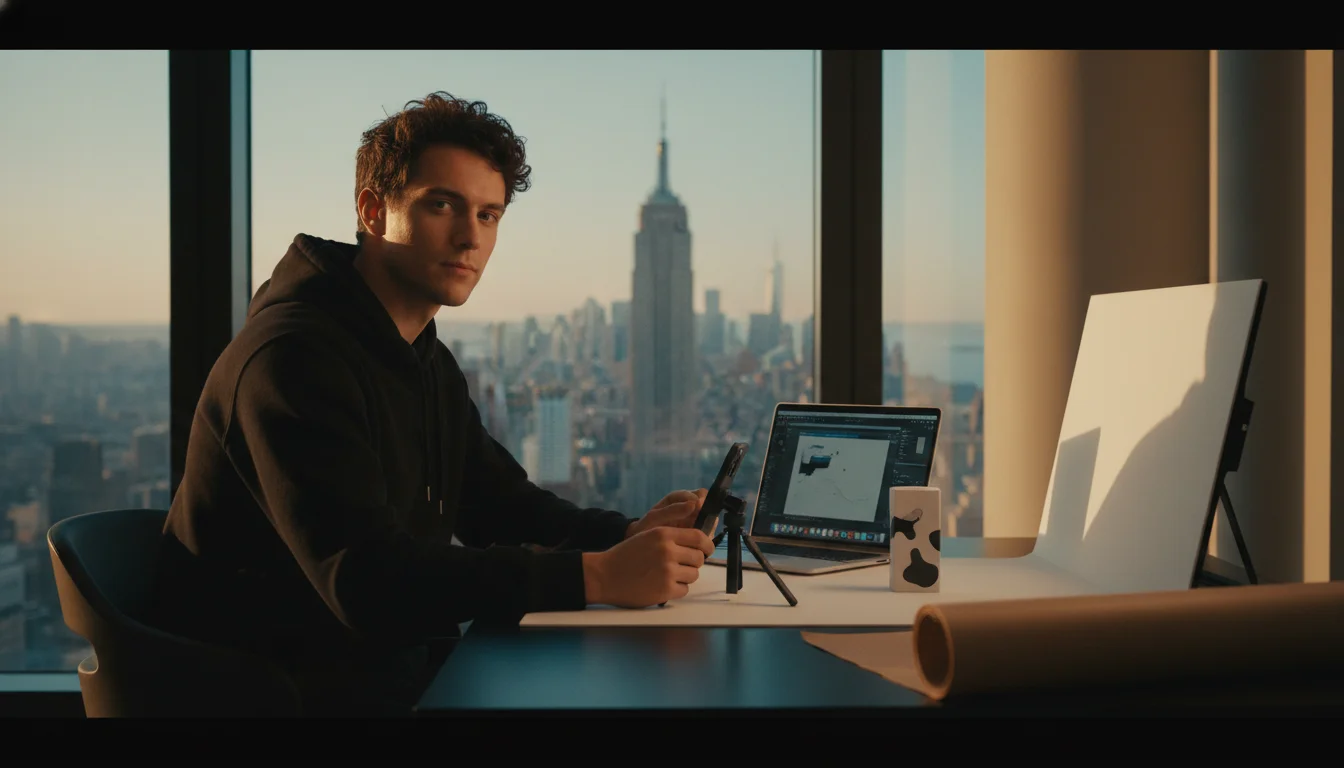
One window with natural light. North or east-facing if possible. The light should be bright but not direct sunlight - direct sun creates harsh shadows and color casts. An overcast day is ideal. So is mid-morning by a clean window.
One $20 backdrop. White vinyl, white poster board, or a roll of seamless paper from any photo store. Some sellers use linen, kraft paper, or marble contact paper for lifestyle shots. Pick one that matches your brand aesthetic and stick with it across all listings. Consistency is half the brand signal.
One white reflector. A piece of white foam core ($5 at an art store) bounces light back into the shadow side of the product. This single $5 investment lifts most home photo quality by 30%.
That is the entire setup. No softboxes, no ring lights, no flash. Add those later if you are scaling beyond what natural light can produce.
The phone matters less than people think
Any iPhone or Android phone from the last three years takes photos that are publishable for e-commerce. The processor inside modern phones does most of the heavy lifting that used to require post-processing.
Use the native camera app. Tap to focus on the product. Tap the exposure slider to brighten or darken slightly. Avoid digital zoom (it degrades the image). Step closer instead.
If you have a tripod, use it. If not, brace your elbow on a stable surface and hold your breath while taking the shot. Tripod is cheap insurance against blurry photos.
The four shots every listing must have
One: the hero shot. Product centered on the clean backdrop. Well-lit. Clear edges. This is the main image that will appear in search results. It is responsible for whether anyone clicks the listing at all. Spend the most time here.
Two: the scale shot. Product alongside something familiar that gives a sense of size - a hand, a coffee mug, a notebook, a leaf. Buyers cannot tell if a product is 3 inches or 8 inches without scale context. Adding scale shot reduces "smaller than I thought" returns dramatically.
Three: the lifestyle shot. Product in use in a realistic setting. The mug on a wooden table next to a book. The candle on a marble counter beside flowers. The jewellery worn against fabric. This shot answers "what does this look like in my life".
Four: the detail shot. A close-up of texture, stitching, finish, material. Tells buyers about quality. Especially important for products where craft matters - leather goods, ceramics, jewellery, knitwear.
These four shots are the foundation. Then add 3-5 more depending on category - colour variants, infographic with specs, comparison shot showing different sizes, packaging shot, the product in someone's hand.
The post-processing step
Even good phone photos benefit from 60 seconds of editing each. Use Photoroom for background removal and cleanup. Use Snapseed or Lightroom Mobile (free tiers) for exposure and color correction.
Standard adjustments: bump exposure +0.3 to +0.5. Bump shadows +20-30. Bump whites slightly. Bring saturation up 5-10. Sharpen lightly. Crop to a clean square or 4:5 portrait depending on platform.
The goal is not to make the product look fake. The goal is to remove the small imperfections that distinguish "home photo" from "professional photo" in buyers' subconscious. Clean background, even exposure, slight saturation boost.
The first photo decides whether anyone clicks. The next six decide whether they buy. Both deserve real time.
The AI upgrade path
Once you have the basic four shots done, AI tools can add the lifestyle scenes you cannot easily set up at home. Photoroom, Canva AI, and Midjourney can place your product (with the right prompt and reference image) into elegant settings you do not have access to. Marble countertops in a Brooklyn loft. A Parisian café table. A linen-covered farmhouse table at golden hour.
Use these for the 2-3 lifestyle shots. Use real photos for the hero shot and detail shot. Mixed sourcing is fine. Pure AI scenes are recognisable to many buyers and reduce trust.
Detail in the cheapest way to generate product photos with AI and Midjourney for e-commerce.
The mistakes to avoid
Shooting at night with overhead lighting. Yellow cast, harsh shadows, blue-corrected by phone in ugly ways. Always natural light if possible.
Cluttered backgrounds. The product should be the only thing competing for attention. Remove the lamp, the coffee cup, the dog.
Inconsistent style across photos. If your hero is bright white on linen and your lifestyle is dark marble in candlelight, the brand reads as confused. Pick a style and run it across the catalog.
Photographing the product flat when it should be at an angle. Most products look better at a 15-30 degree angle than perfectly flat. Experiment.
Skipping the detail shot. Close-ups sell quality. Without them buyers wonder if there is something to hide.
The minimum viable shoot
One Saturday morning. One window. Backdrop, reflector, tripod. Twelve products in three hours. Edit them on Sunday. Live by Monday.
That is the cycle. Most sellers spend a month planning a photo shoot. Just do the Saturday version. The photos will be 80% as good as a professional shoot for 0% of the cost.
For the broader Etsy and Amazon listing playbook, read how to write Etsy descriptions that rank and how to write Amazon listings that convert. The full product photo and listing system is the spine of the photography module in the course. The window. The backdrop. The four shots. Saturday morning.